Setting up a FX-Server on a Linux VPS or dedicated server can be difficult for people who have never used linux.
Therefore I am creating this tutorial to both share my experience and knowledge on setting it up to run easily.
I am assuming that if your following this tutorial you undestand how to use SSH / FTP to access your vps to some ability.
Some of the reasons I use pterodactyl:
-
Allows for easy server control via the web interface.
-
Web based file management
-
Ability to add subusers
-
Easy server creation
-
Compatibility for multiple servers
-
Live resource consumption
-
SSL compatibility
-
and much more…
___________________________________________________________________________________________________________
Setting up pterodactyl for FiveM
-
First things first your going to want to set up pterodactyl. I’m not going to relist their installation process as its already done on their website which is here. I will list all important links at the end of this tutorial.
-
Once pterodactyl is set up and working an important part is setting up a location, node, and egg for a FiveM server. To do this we want to go into our control panel and get started.
Getting into admin control panel:
Navigate to admin settings by clicking the settings icon in the top left.
![]()
Creating a location
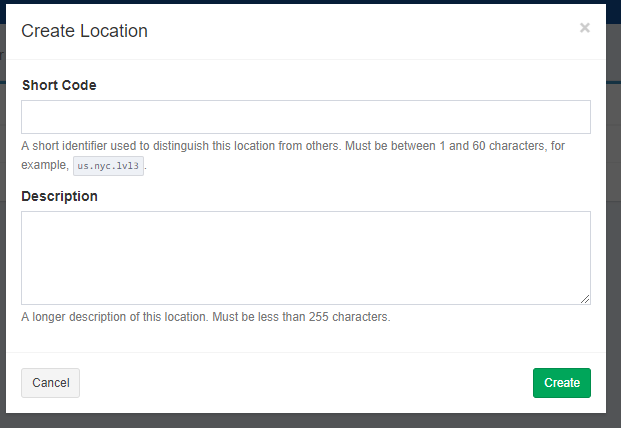
Once inside the admin control panel you want to go to location and create a new location.
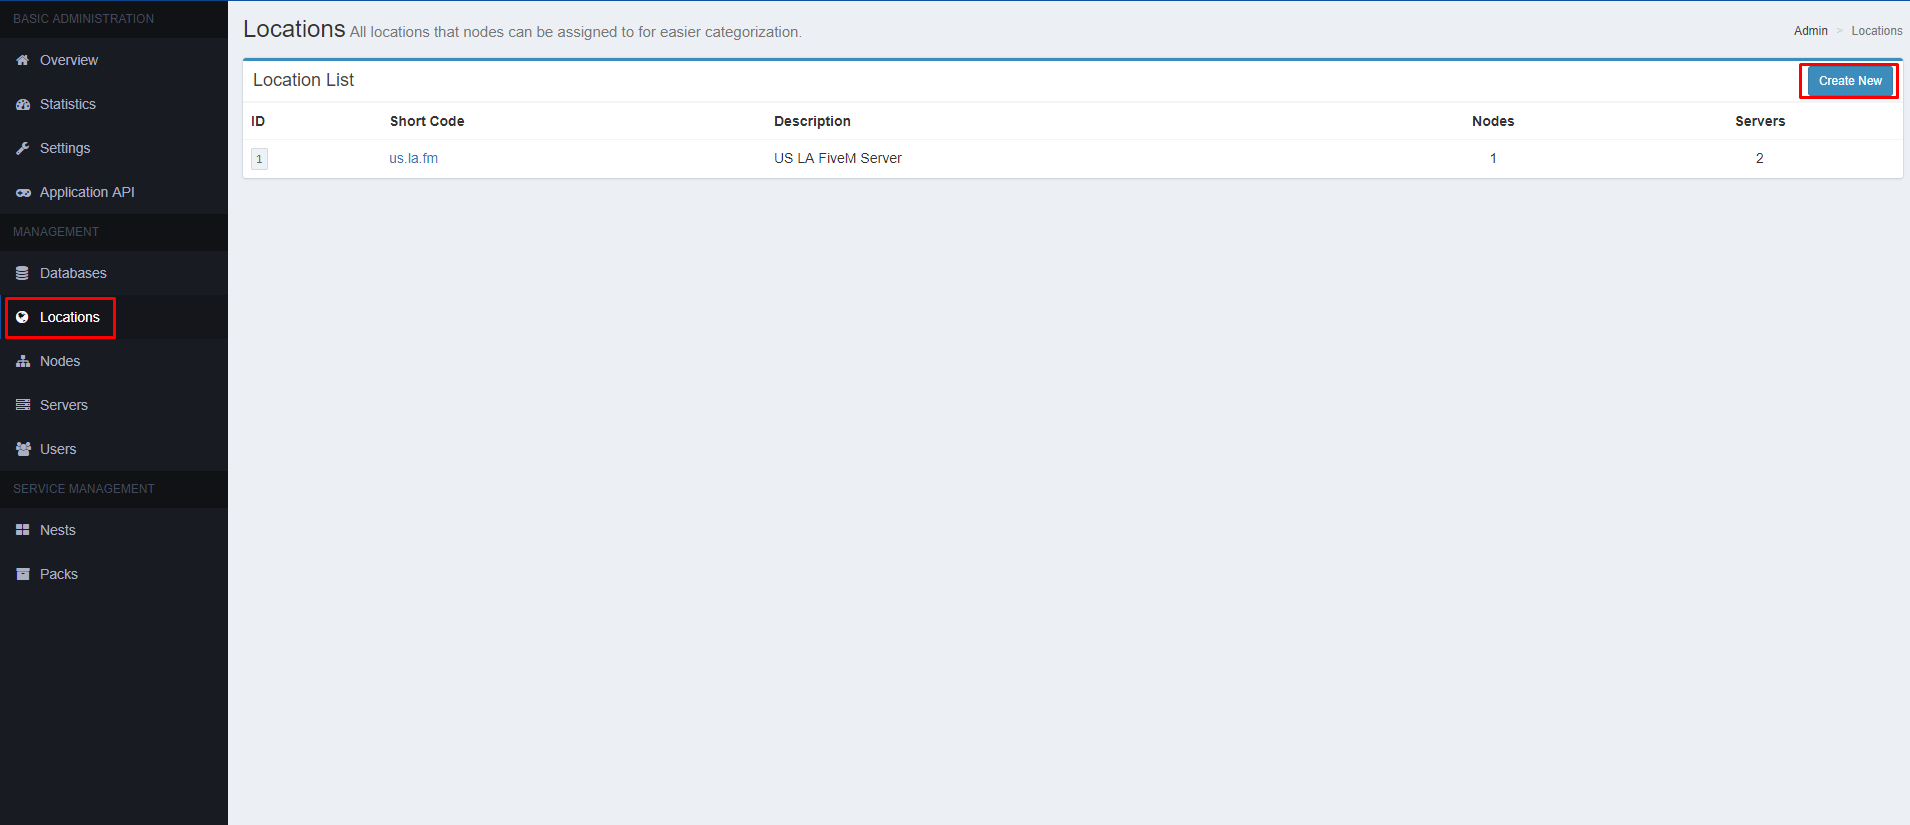
Fill out the specified fields to what you desire.
After creating the location you want to set up a node.
Setting up a node
Click nodes on the left.
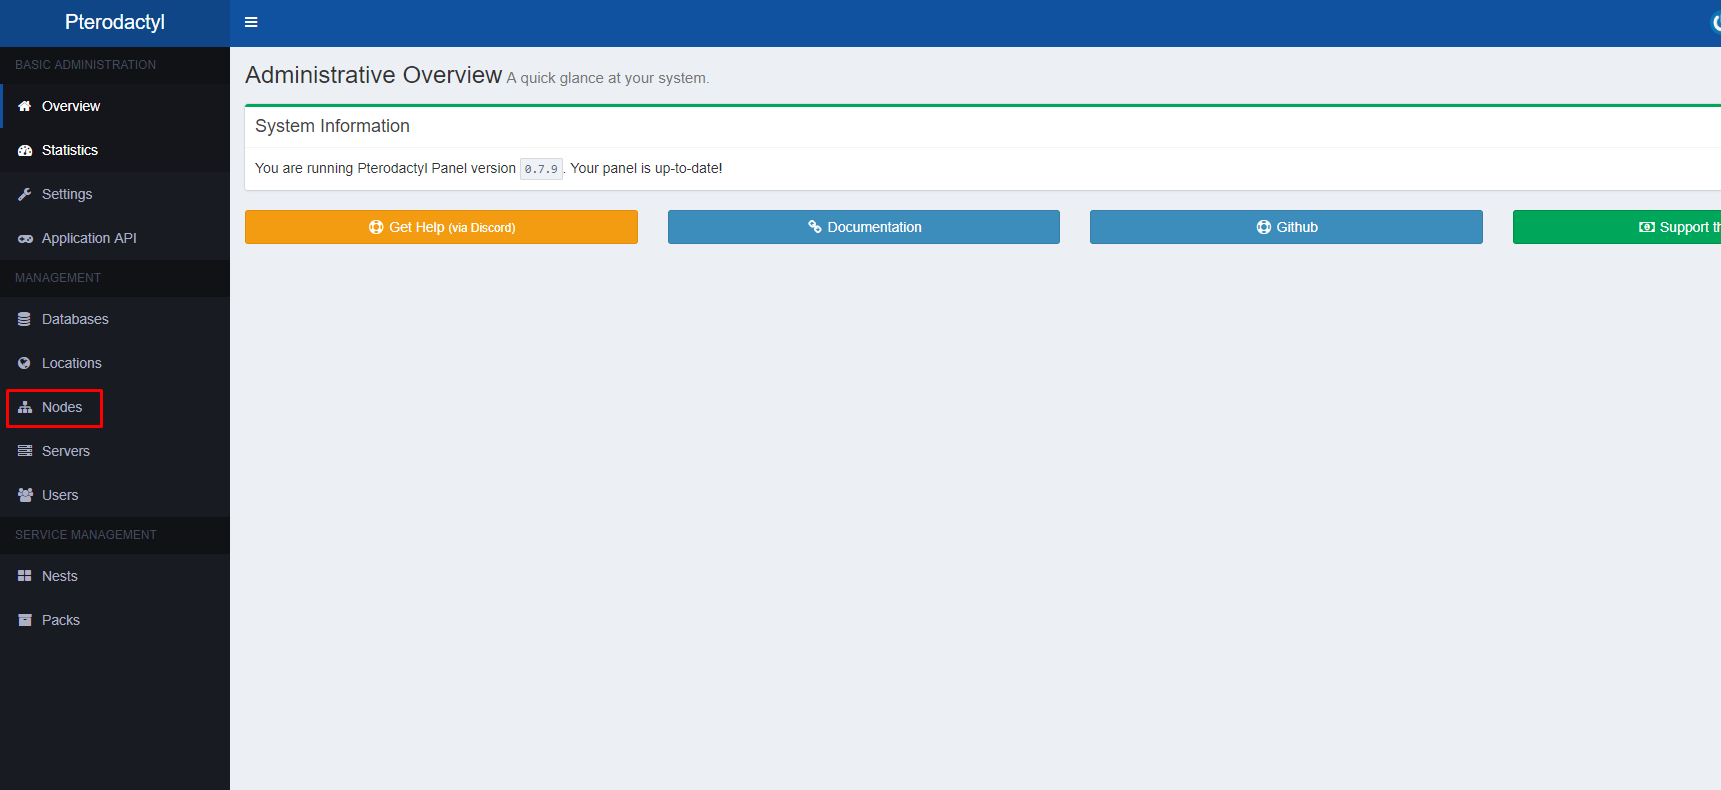
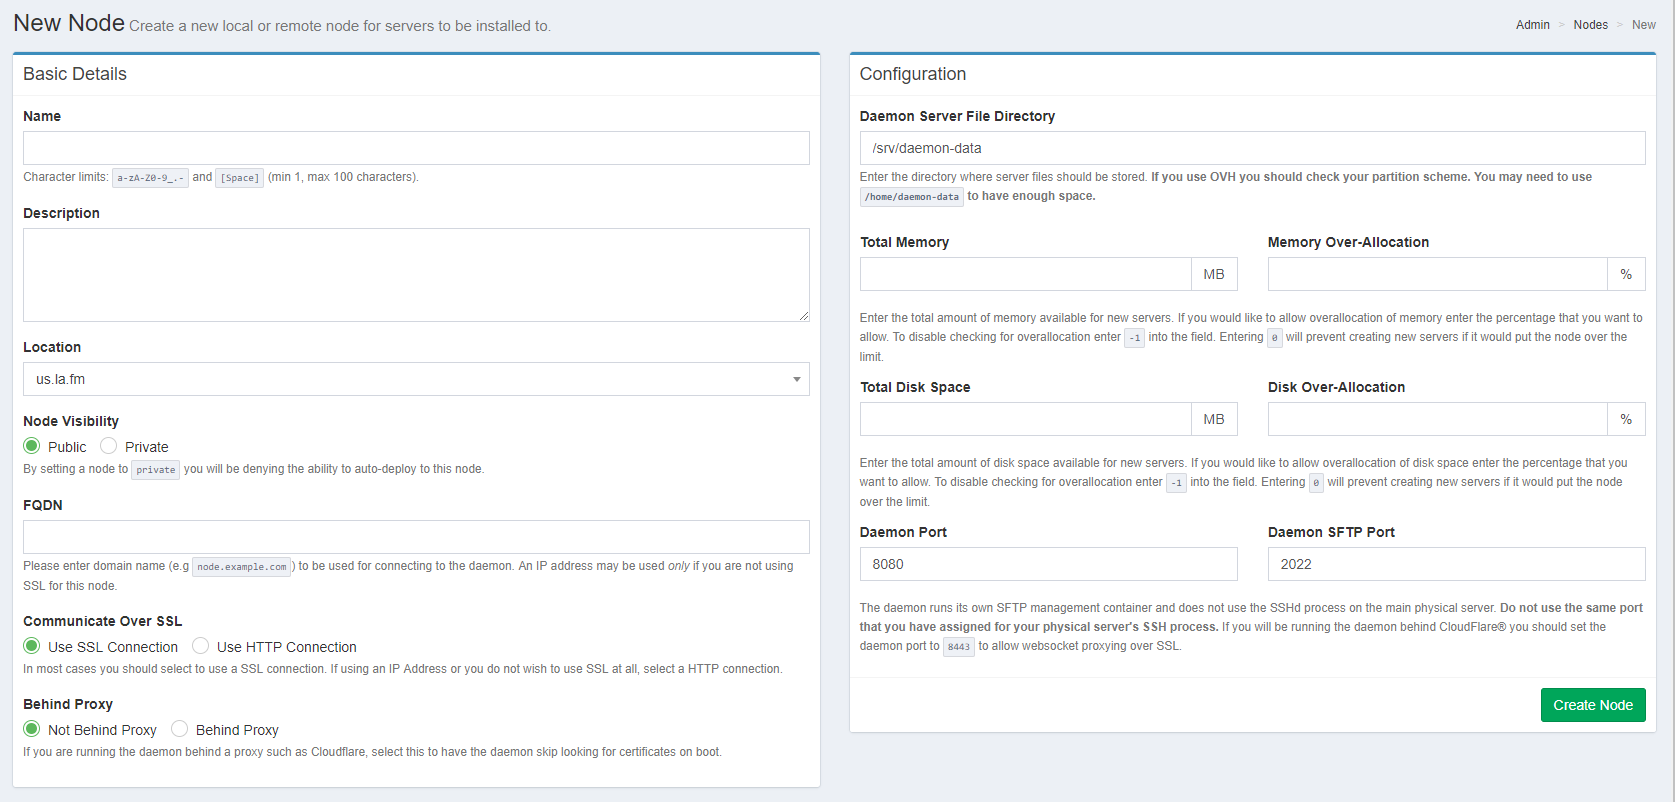
Create a new node by clicking create new

Once you click create node it will bring you to a creation page. Should look something like this. Use the location you created earlier.
The next thing you will want to do is get a FiveM egg for pterodactyl. The egg is a configuration that allows pterodactyl to download and setup a FX Server without you doing any hard work basically.
An egg for FiveM can be found here.
Once the egg is downloaded and uploaded to the VPS/Dedi you are going to want to go to nests which is located on the side navbar. When you have reached the nests page create a new nest called FiveM.
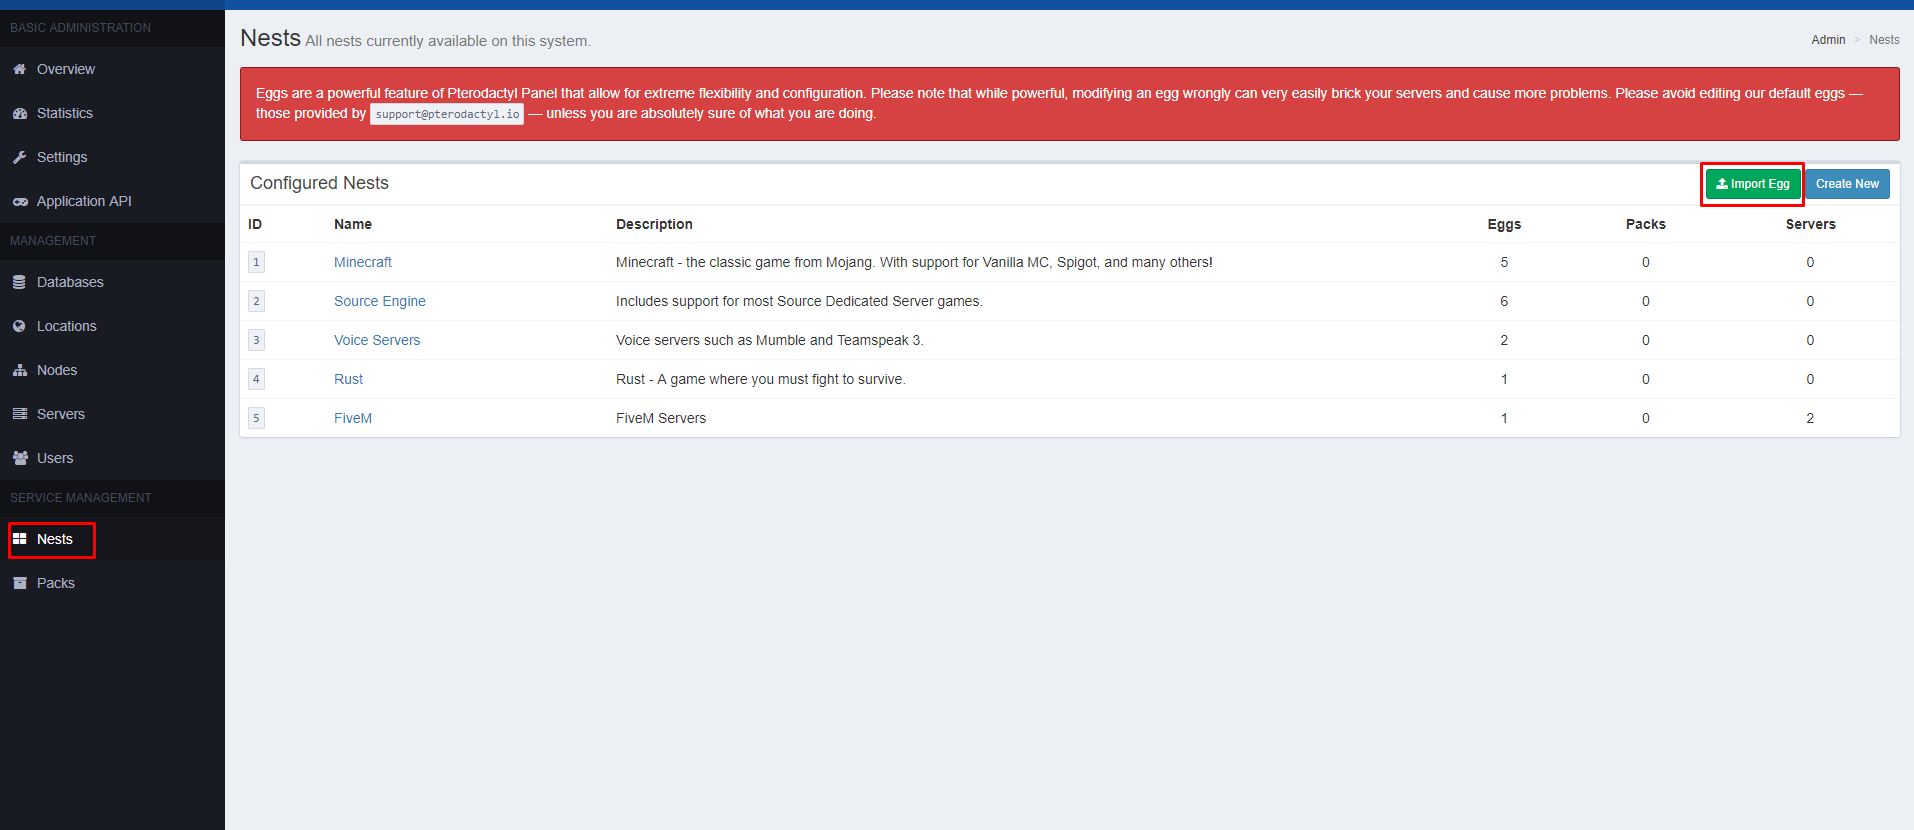
After creating the nest, click import egg and follow the prompts to import your egg that you downloaded.
Woo! Were almost there!
Now we can create our server! Go to the servers tab on the side navbar and click create new!
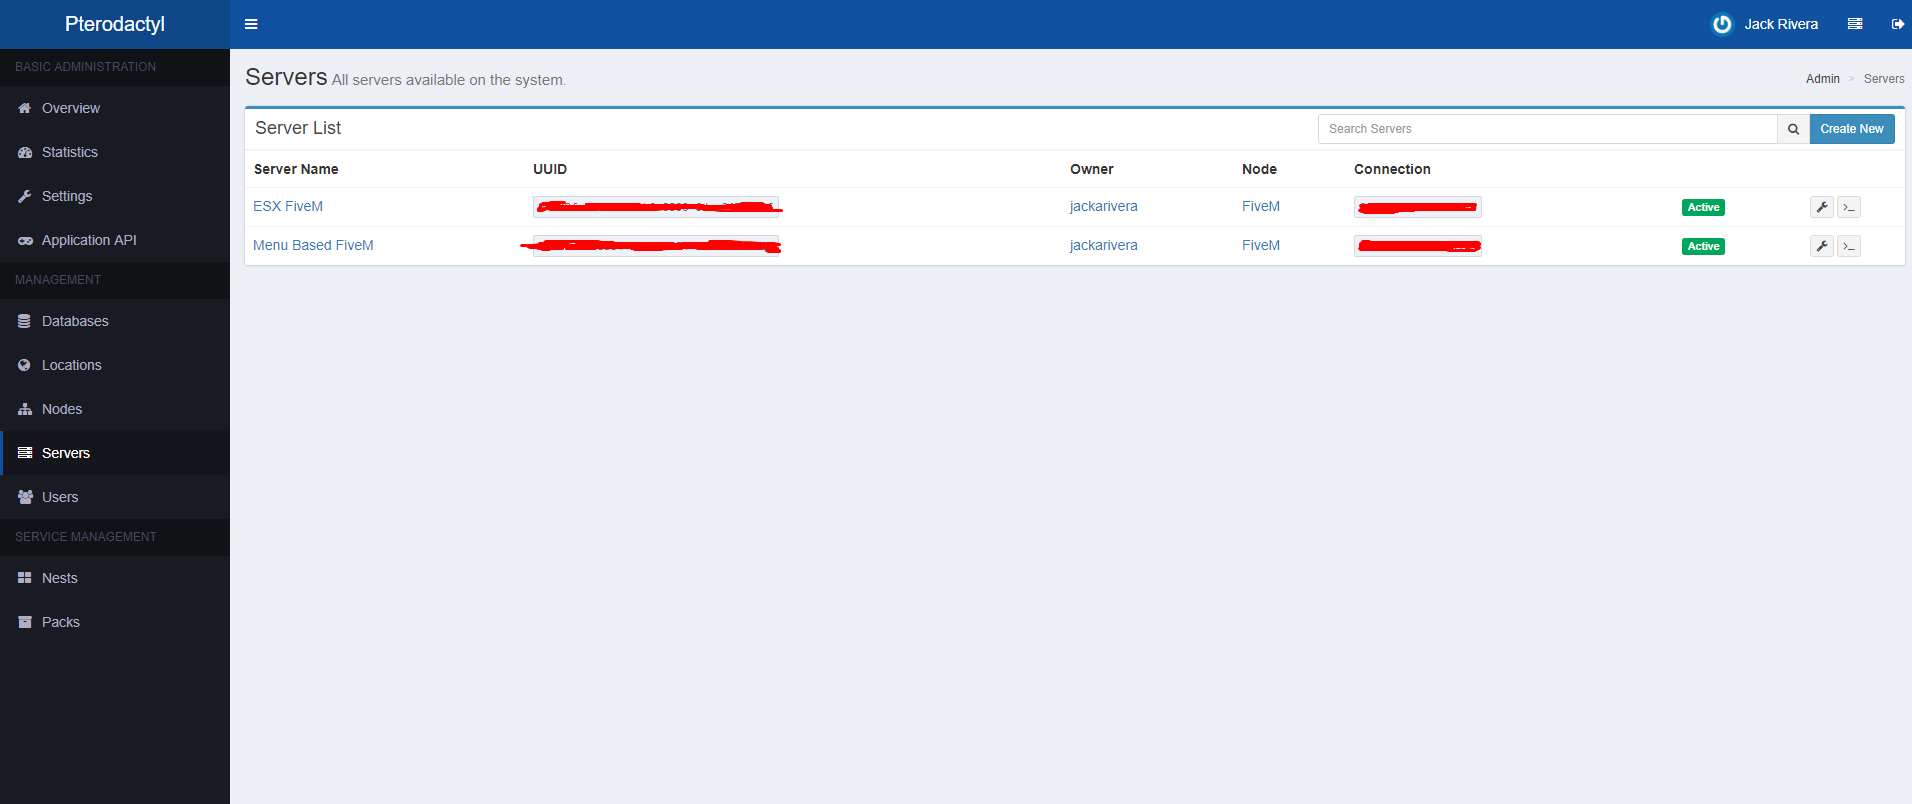
Fill out the form with however you want it to be setup. Once you come upon the nest configuration section you will want to select the nest and egg you created earlier.

and finally you will want to fill out the startup configuration with your basic server settings.
FiveM Licenses can be created here: keymaster.fivem.net
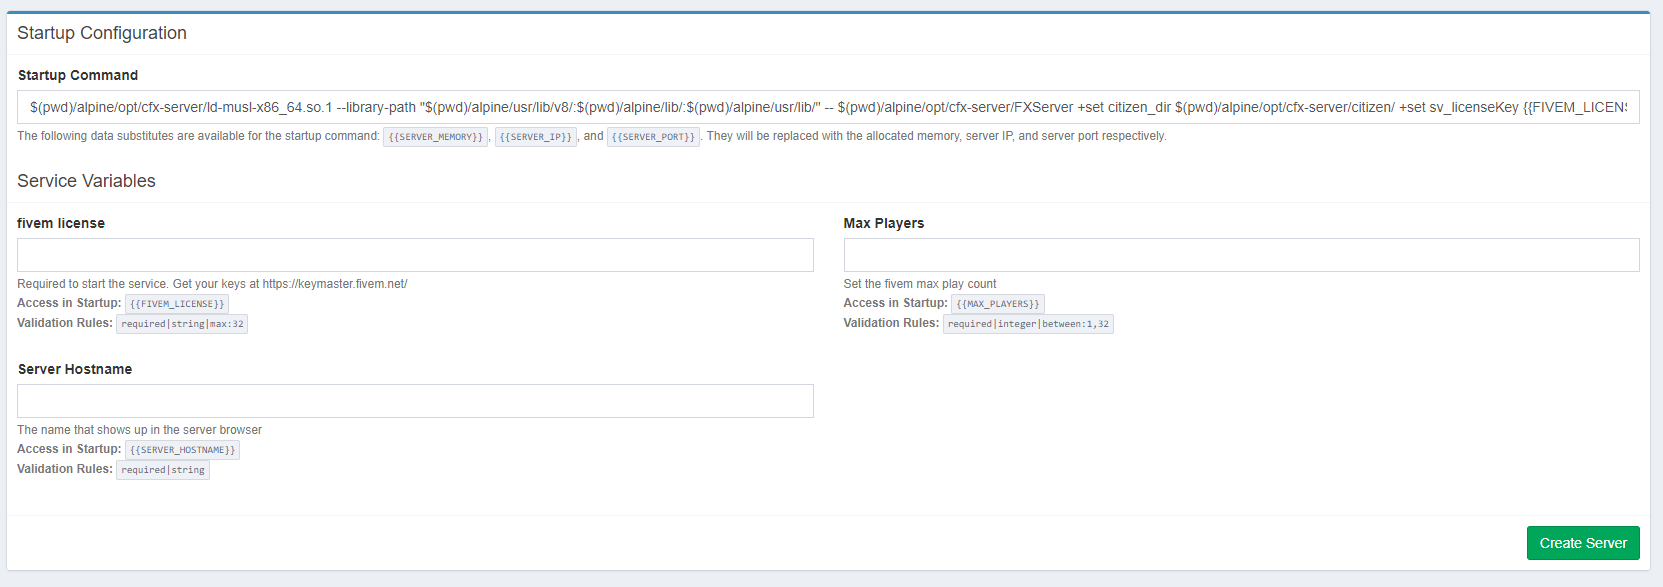
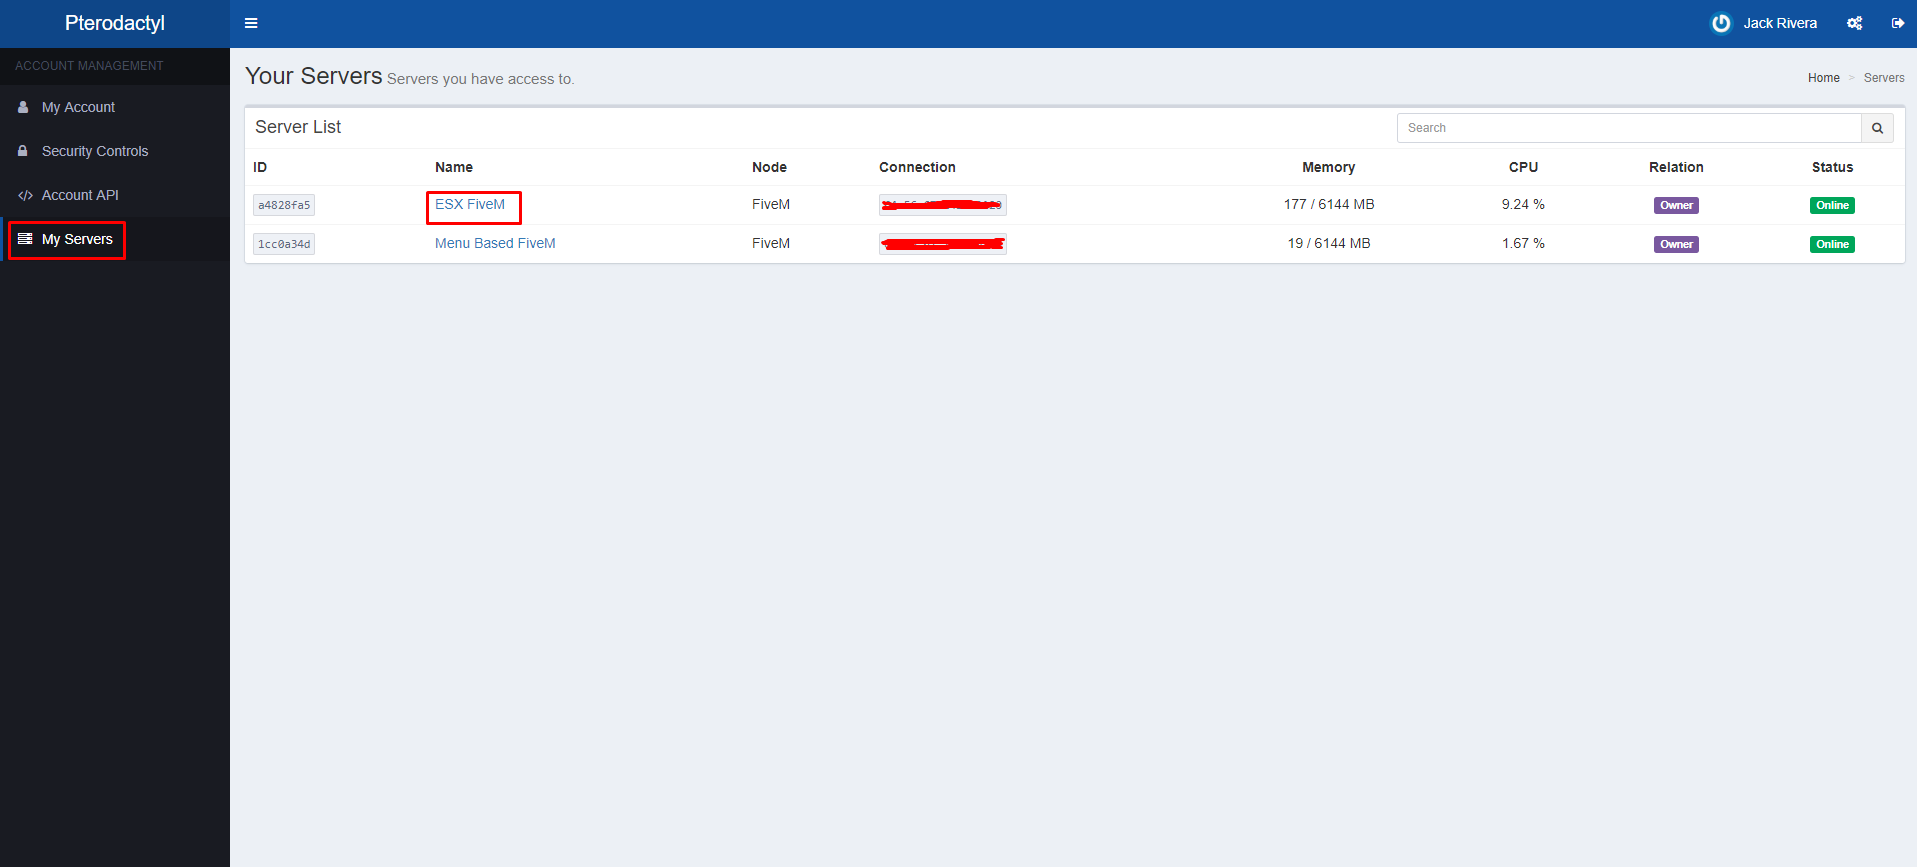
Click create server and bam! pterodactyl will start to install your server. When its done installing you can exit the admin control panel by clicking the button that is in the same place that you entered the control panel. Then navigate to my servers on the side and choose your server. I’m not going to go into depth of the features and functions of pterodactyl. I will let all of you experiment and familiarize yourselves with it!
Links
Thanks everyone for reading. If there is anything I may have missed please let me know!

